Running a bar, café, or small restaurant without reliable ice feels risky. One night of warm drinks can trigger bad reviews, staff stress, and wasted product. Many owners order a new commercial ice maker, it arrives on a pallet, and then everything stalls because the installer is busy or the contractor wants another site visit. A clear, realistic installation walkthrough helps you decide what you can do yourself, what needs a pro, and how to bring the machine online without leaks, tripped breakers, or flooding your back room.
DIY vs Professional Ice Maker Installation: When to Choose Each
The first decision is not about tools, it is about risk. Some installations are simple, others touch plumbing and electrical in ways that can affect safety and code compliance.
DIY suits owners who:
- Already have a nearby cold water line and a usable drain
- Have a properly grounded outlet on a suitable circuit
- Feel comfortable tightening fittings, using a level, and checking for leaks
In that situation, connecting a commercial ice maker with flexible hoses and factory fittings is realistic, as long as you follow the manual.
Bring in a licensed plumber or electrician when:
- A new circuit or breaker is required
- The panel is already heavily loaded
- The drain sits higher than the machine's outlet and you need pump sizing
- The building has strict health or fire inspections
A simple rule: if a mistake could damage the building, violate local code, or void the warranty, you want a professional to handle that piece.

DIY Commercial Ice Maker Pre-Installation Requirements & Checklist
Before cutting any tape or opening boxes, confirm that the space and utilities match what the machine needs. Rushing this step is what creates most "it never worked right" stories.
- Floor space: does the footprint plus clearance actually fit behind the bar or in the prep area?
- Ventilation: air-cooled units need open front grills and breathing room at the back and sides.
- Environment: most ice maker machine specifications call for room temperatures between about 50 and 100 °F, although exact limits vary by model, so confirm the range in your manual.
- Water: a cold, potable line with a dedicated shutoff valve, and acceptable pressure according to the manual.
- Drain: floor drain, standpipe, or a connection point compatible with gravity or a built-in pump.
- Power: correct voltage and frequency on a grounded outlet, ideally a dedicated circuit.
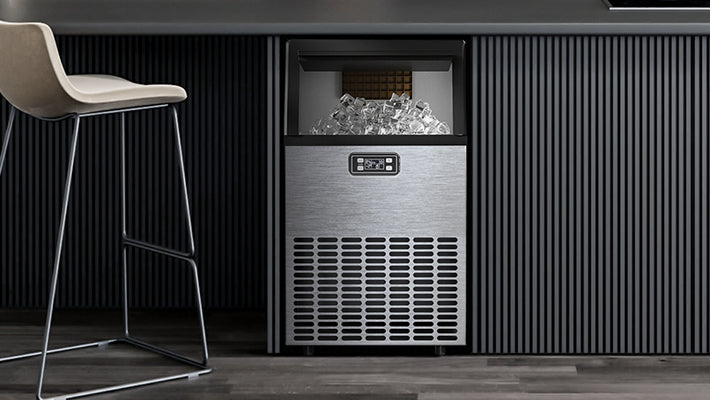
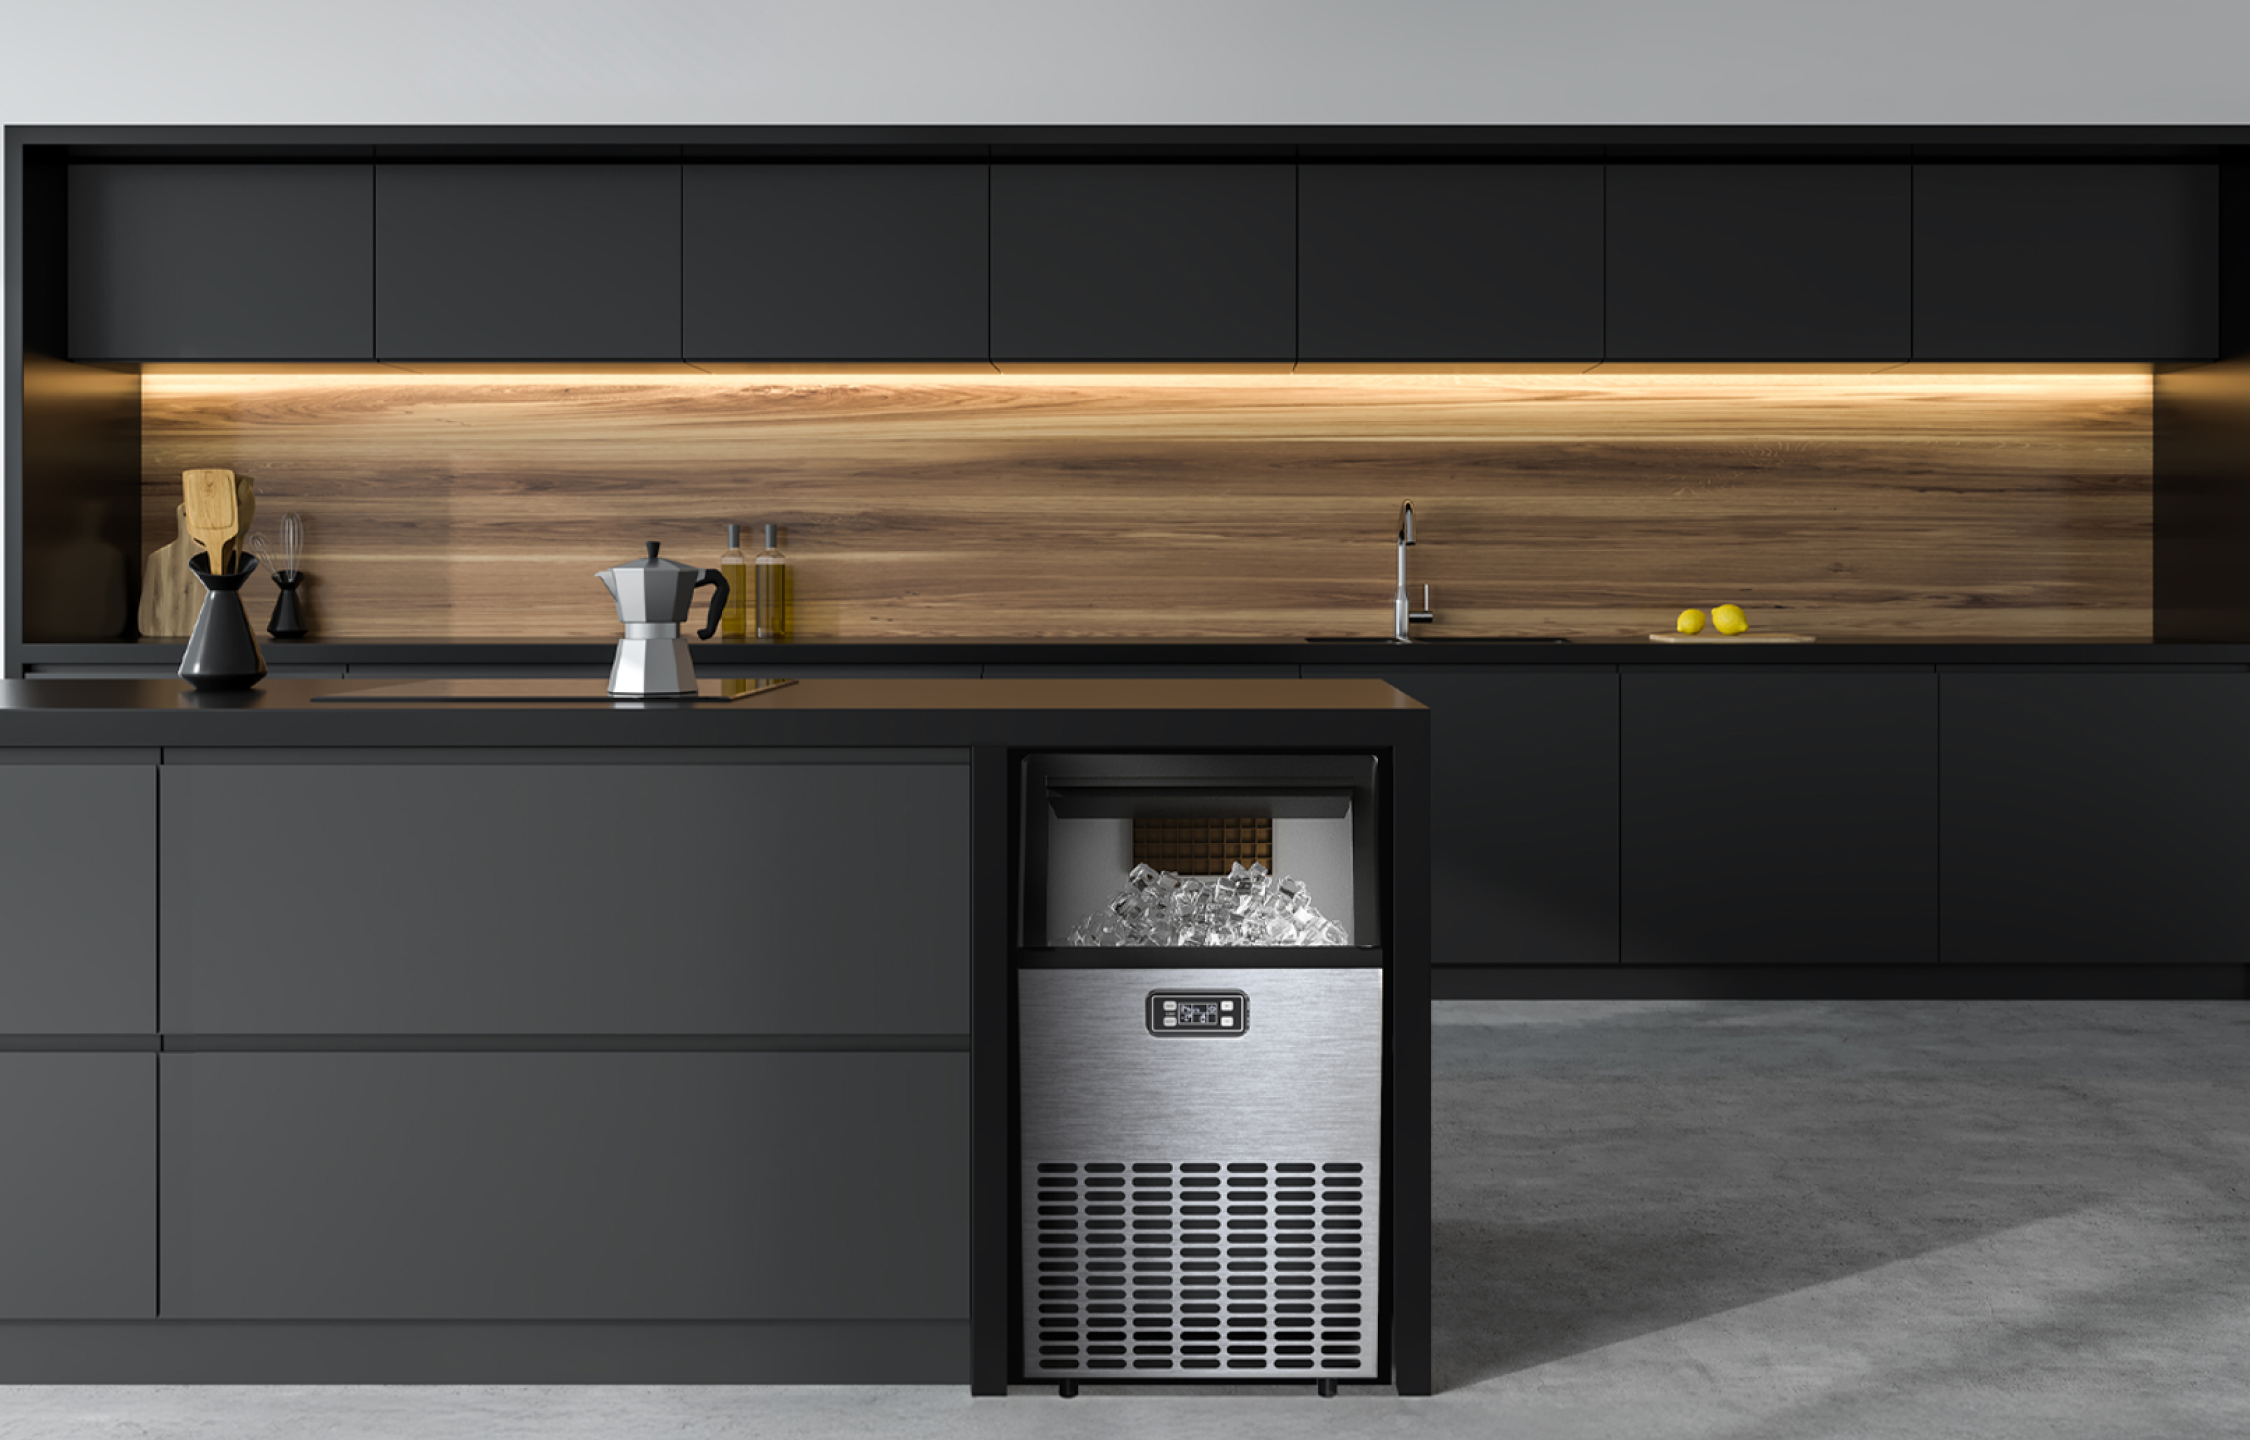
Owners with very tight spaces often choose a small commercial ice maker so that air flow and service access stay realistic instead of forcing the unit into a sealed cabinet.
Step 1: Unboxing and Inspecting Your Commercial Ice Maker

Now you can open the carton. Do it slowly and keep all packaging until you know everything works.
- Inspect the outer box for crushing or punctures before cutting the straps.
- Remove the top and sides, then look for dents, broken panels, or cracked plastic.
- Verify the model number and daily ice capacity match what you ordered.
- Confirm that the power cord, water inlet, and drain fittings are intact.
- Check that the installation kit, hoses, and leg levelers are present.
If the unit was shipped on its side, leave it upright and unused for at least 24 hours so the refrigerant oil settles. That pause feels slow on a busy day, yet it protects the compressor and keeps your commercial ice maker in good condition from day one.
Step 2: Proper Positioning and Leveling Your Ice Machine

Placement affects output and lifespan almost as much as brand or capacity. A hardworking machine in the wrong corner can overheat, vibrate, or leak.
Place the cabinet where:
- Staff can reach the bin without crossing main traffic paths
- Heat sources such as ovens or fryers are not radiating directly onto it
- Sunlight is not shining onto the condenser grill
Leave the clearances recommended in the manual at the sides, back, and top for your specific unit, and keep the front completely open so air can move through the condenser. Under-counter units need enough room to slide out for servicing, even when the bar is fully built out.
Adjust the legs or casters until the ice machine is level front-to-back and side-to-side. A bubble level on top of the bin makes this simple. Proper leveling helps doors seal, drains run correctly, and moving parts inside a commercial ice maker stay aligned.
Step 3: Water Line Connection for Commercial Ice Makers

Clean, stable water supply keeps ice clear and protects the internal parts. Many business owners already have a cold line under a sink or behind the bar, which can support a nearby machine.
Good practice for the connection:
- Install or locate a dedicated cold-water shutoff valve close to the machine.
- Flush the supply line into a bucket until water runs clear.
- Use the manufacturer-approved inlet hose or food-grade tubing in the recommended size.
- Apply plumber's tape only where the manual indicates, usually on threaded fittings.
- Tighten connections firmly, then open the valve slowly and watch for drips.
Always check the connection type and hose size specified for your model, so the fittings seal correctly. If your tap water is hard or has visible sediment, plan for a filter system or cartridge rated for ice equipment. A filtered commercial ice maker runs cleaner, scales up more slowly, and produces ice that looks better in drinks.
Step 4: Ice Maker Drainage System Setup and Installation

Water that enters must also leave without pooling on your floor. This part deserves careful attention, especially in small spaces.
First, identify the type of drain design on your machine:
- Gravity drain: waste water flows down from the outlet to a floor drain or standpipe.
- Built-in pump: the machine pushes water up to a higher drain connection within a rated height.
For gravity systems, position the outlet so that the hose slopes down all the way to the drain, with no sags that trap water or air. Secure the hose to avoid kinks, and maintain an air gap if you are tying into a building drain to protect against backflow.
Where a built-in pump exists, check the maximum lift height in the specifications for your unit and keep your connection below that limit. That way, the commercial ice maker can discharge fully without overworking the pump or triggering error codes during heavy service.
Step 5: Electrical Connection and First Power-Up

By this point, the machine is in place, level, and plumbed. The last major input is power, and that is where safety needs the most discipline.
Before plugging in:
- Compare the nameplate voltage and amperage with the outlet and breaker rating, and make sure they match what the installation section of your manual calls for.
- Confirm the receptacle is properly grounded and in good physical condition.
- Avoid extension cords, adapters, and multi-plug strips for a permanent installation.
Turn on the water supply, then connect the power cord. Watch the control panel or indicator lights as the commercial ice maker begins its startup sequence. Many modern units run a brief self-check or cleaning cycle before moving into full production, so allow time for that initial process.
If you have any doubt about the electrical capacity of your panel or the condition of the wiring, pause and let a licensed electrician confirm. It costs less than repairing fire damage or replacing tripped breakers during a rush.
Step 6: Testing and Troubleshooting Your New Ice Maker

Once the machine runs freely, it needs a short trial period before regular service. This protects your guests and gives you a baseline for "normal" behavior.
During the first few hours:
- Discard the first few batches of ice, which may pick up residual tastes from the new plumbing.
- Check all hose connections and fittings for slow leaks as the bin fills.
- Listen for unusual grinding, banging, or repeated short cycling.
A healthy commercial ice maker will reach its first batch within the time stated in the manual, then settle into a steady rhythm. Many modern units also include an LCD panel and a built-in cleaning program, so follow the prompts in the instructions for the first cleaning cycle before serving ice to guests. If the unit fails to fill with water, inspect the shutoff valve, filter head, and inlet screen. If it shuts off unexpectedly or shows warning lights, follow the manufacturer's troubleshooting chart and do not open sealed refrigeration components on your own.
Document any persistent fault codes and take photos of the installation before contacting support. Clear information speeds up remote diagnosis and any service visits.
5 Common DIY Installation Mistakes to Avoid
Many problems that look like bad equipment actually trace back to avoidable decisions on day one. Keeping an honest list of common errors helps you avoid repeating them.
Typical issues include:
- Pushing the cabinet into a tight alcove so the condenser cannot breathe
- Using an undersized drain line or running it uphill so water backs into the bin
- Sharing the circuit with other high-draw appliances until the breaker trips during peak hours
- Skipping water treatment in a hard-water region, causing scale and cloudy ice
- Ignoring the manual's environment and clearance notes for a row of commercial ice maker machines
A few minutes with the documentation and a tape measure prevent years of nagging performance complaints and unplanned downtime.
Conclusion
A reliable ice supply supports sales, staff morale, and food safety. Thoughtful planning, careful placement, and patient testing turn a boxed appliance into a dependable part of your workflow. Once water, drainage, and electrical needs match the real conditions in your building, the machine can run day after day with minimal intervention. That preparation also makes future maintenance easier, because every hose, valve, and connection sits where a technician can see it and reach it without tearing your bar apart.
FAQs About Installing a Commercial Ice Maker
Q1: How long does installation usually take for a first-time owner?
Most small projects, such as an under-counter commercial ice maker near an existing sink, take two to four hours when utilities are ready. Extra time goes into moving the unit safely, checking clearances, flushing the water line, and verifying the drain works. If a new shutoff valve or minor carpentry is required, plan for half a day so you are not rushing before service.
Q2: Can I install a unit in an outdoor bar or patio area?
Only models rated for outdoor use belong in exposed locations. Cold nights, direct sun, and wind-driven rain all affect performance and safety. If you need ice on a patio, consider placing the machine in a sheltered service room and carrying ice to the bar or using a pass-through window. Even then, confirm that the room temperature and ventilation stay within the range listed for the machine.
Q3: How often should I clean and sanitize after installation?
Most manufacturers recommend at least quarterly cleaning with approved ice machine cleaner and sanitizer. Busy bars and kitchens with heavy use or hard water often move to monthly routines. Regular cleaning controls biofilm, scale, and off flavors, and it keeps moving parts inside the ice maker machine from sticking. The manual usually provides a step-by-step cleaning program built into the control panel.
Q4: Do I really need a water filter for a new installation?
A filter is not a decoration. It captures sediment and reduces minerals that cause cloudy cubes and scale, especially in regions with hard water. A basic cartridge system sized for your daily production costs much less than repairing valves and evaporator plates damaged by deposits. For a small commercial ice maker, one compact filter mounted near the shutoff valve is often enough to extend service intervals and maintain ice clarity.

Leave a comment
All comments are moderated before being published.
This site is protected by hCaptcha and the hCaptcha Privacy Policy and Terms of Service apply.