A reliable ice supply feels invisible until it fails. Guests show up, drinks are warm, and your freezer tray cannot keep pace. That is when the choice between a compact countertop unit and a built-in undercounter system becomes urgent. This guide gives you a clear, data-backed way to choose the right ice maker for your home. You will see how installation affects daily life, how output and storage align with gatherings, and how ice style shapes the drinking experience. By the end, you can decide with confidence.
What Is a Countertop Ice Maker?
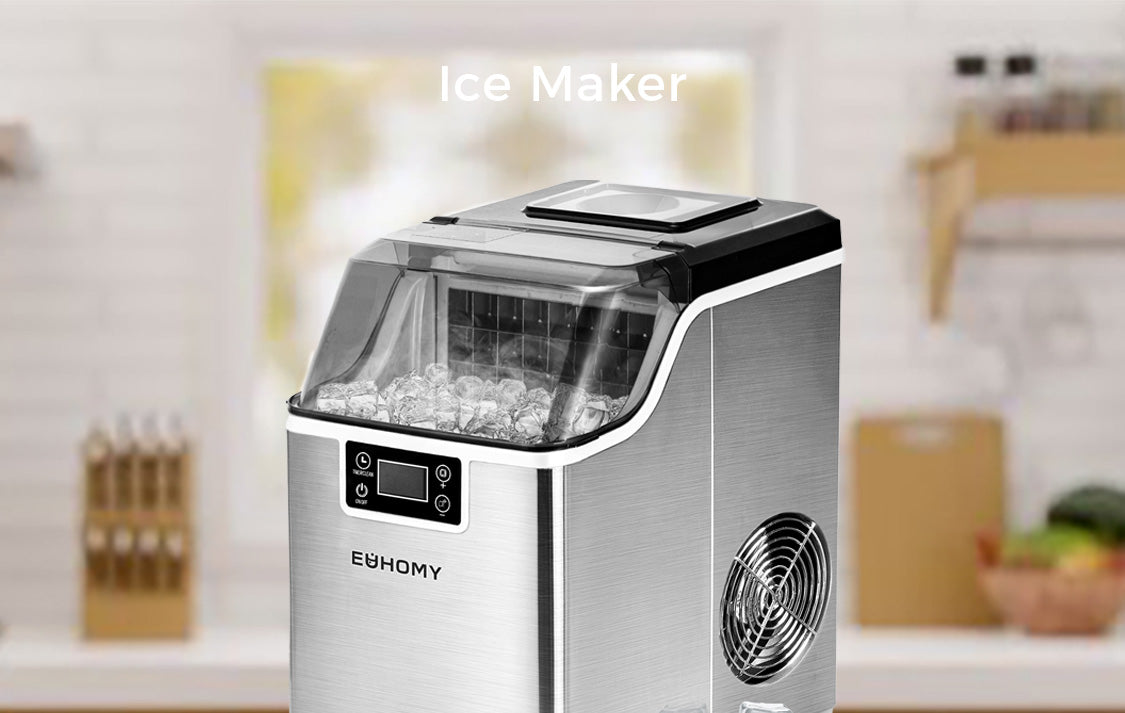
A countertop ice maker is a self-contained appliance that sits on a flat surface near a standard outlet. You pour water into its internal reservoir, press a button, and the first batch arrives quickly. Many models include a simple self-clean cycle and on-unit indicators, so everyday use remains straightforward for families and small gatherings. If you want an ice maker machine countertop solution that avoids plumbing, this format excels. Typical daily production for compact units falls in the high-20s to the mid-30s in pounds, and first ice can appear within minutes depending on the ice type.
What that means day to day is simple. A portable design with a built-in tank needs only power and periodic refills. For example, a bullet-ice machine can produce nine bullets in about six minutes with a maximum of around 26.3 pounds per day. Nugget machines often list first ice in about seven to ten minutes with daily output around 33 to 35 pounds. These figures are a good proxy for what most households can expect from a portable ice maker.
What Is an Undercounter Ice Maker?
An undercounter ice maker integrates into cabinetry to create a flush, professional look at a home bar or kitchen. Unlike countertop units, it connects to household plumbing. You will need a dedicated water supply and a continuous drain to remove meltwater from the bin. The payoff is capacity. Daily production can be several times higher than a portable unit, and the storage bin holds more, so refills are less frequent during parties or weekends with guests. If you want an unde-counter ice maker that supports frequent hosting or an outdoor kitchen, this category is designed for sustained output.
You can see the scale in current listings. One built-in model often specifies about 80 pounds of ice per day with a 24-pound bin, and a commercial-leaning unit highlights up to about 199 pounds per day with 34 pounds of storage. These machine classes illustrate the production jump you gain when you commit to plumbing and cabinet space.
Countertop vs Undercounter Ice Makers: 8 Key Differences
Choosing the right format is easier when you compare the parts of ownership that matter every day. Read the notes below the table for context on the figures.
| Factor | Countertop | Undercounter |
| Installation | Sits on a surface and uses a fillable reservoir | Built into cabinetry with water supply and continuous drain |
| First ice time | Commonly about 6 to 15 minutes depending on ice type | Model dependent and designed for steady replenishment |
| Daily production | About 26 to 35 lbs per 24 hours | About 80 lbs per 24 hours in compact built-ins; up to about 199 lbs in larger units |
| Storage bin | Small basket for frequent serving | Larger bins, commonly about 24 to 34 lbs |
| Ice styles | Bullet, nugget, crescent | Clear cubes, crescent, nugget in higher-capacity systems |
| Footprint | Portable with no cabinet cutout | Requires planned ventilation and service access |
| Plumbing | None | Required, often gravity drain or a pump when slope is not possible |
| Best use case | Everyday drinks, apartments, RVs, small gatherings | Home bars, frequent parties, outdoor kitchens, light commercial use |
The countertop figures reflect common portable listings that show a first batch in about six to ten minutes and daily output in the high-20s to the mid 30s. The undercounter figures reflect built-in and commercial pages that specify around 80 pounds per day with a 24-pound bin and up to about 199 pounds per day with a 34-pound bin. The drain and ventilation notes align with installation guidance that stresses continuous drainage, a suitable slope or pump, and proper airflow in cabinetry. This is the practical framework to evaluate the best ice makers for home according to your hosting rhythm and space.

Who Should Choose a Countertop Ice Maker?
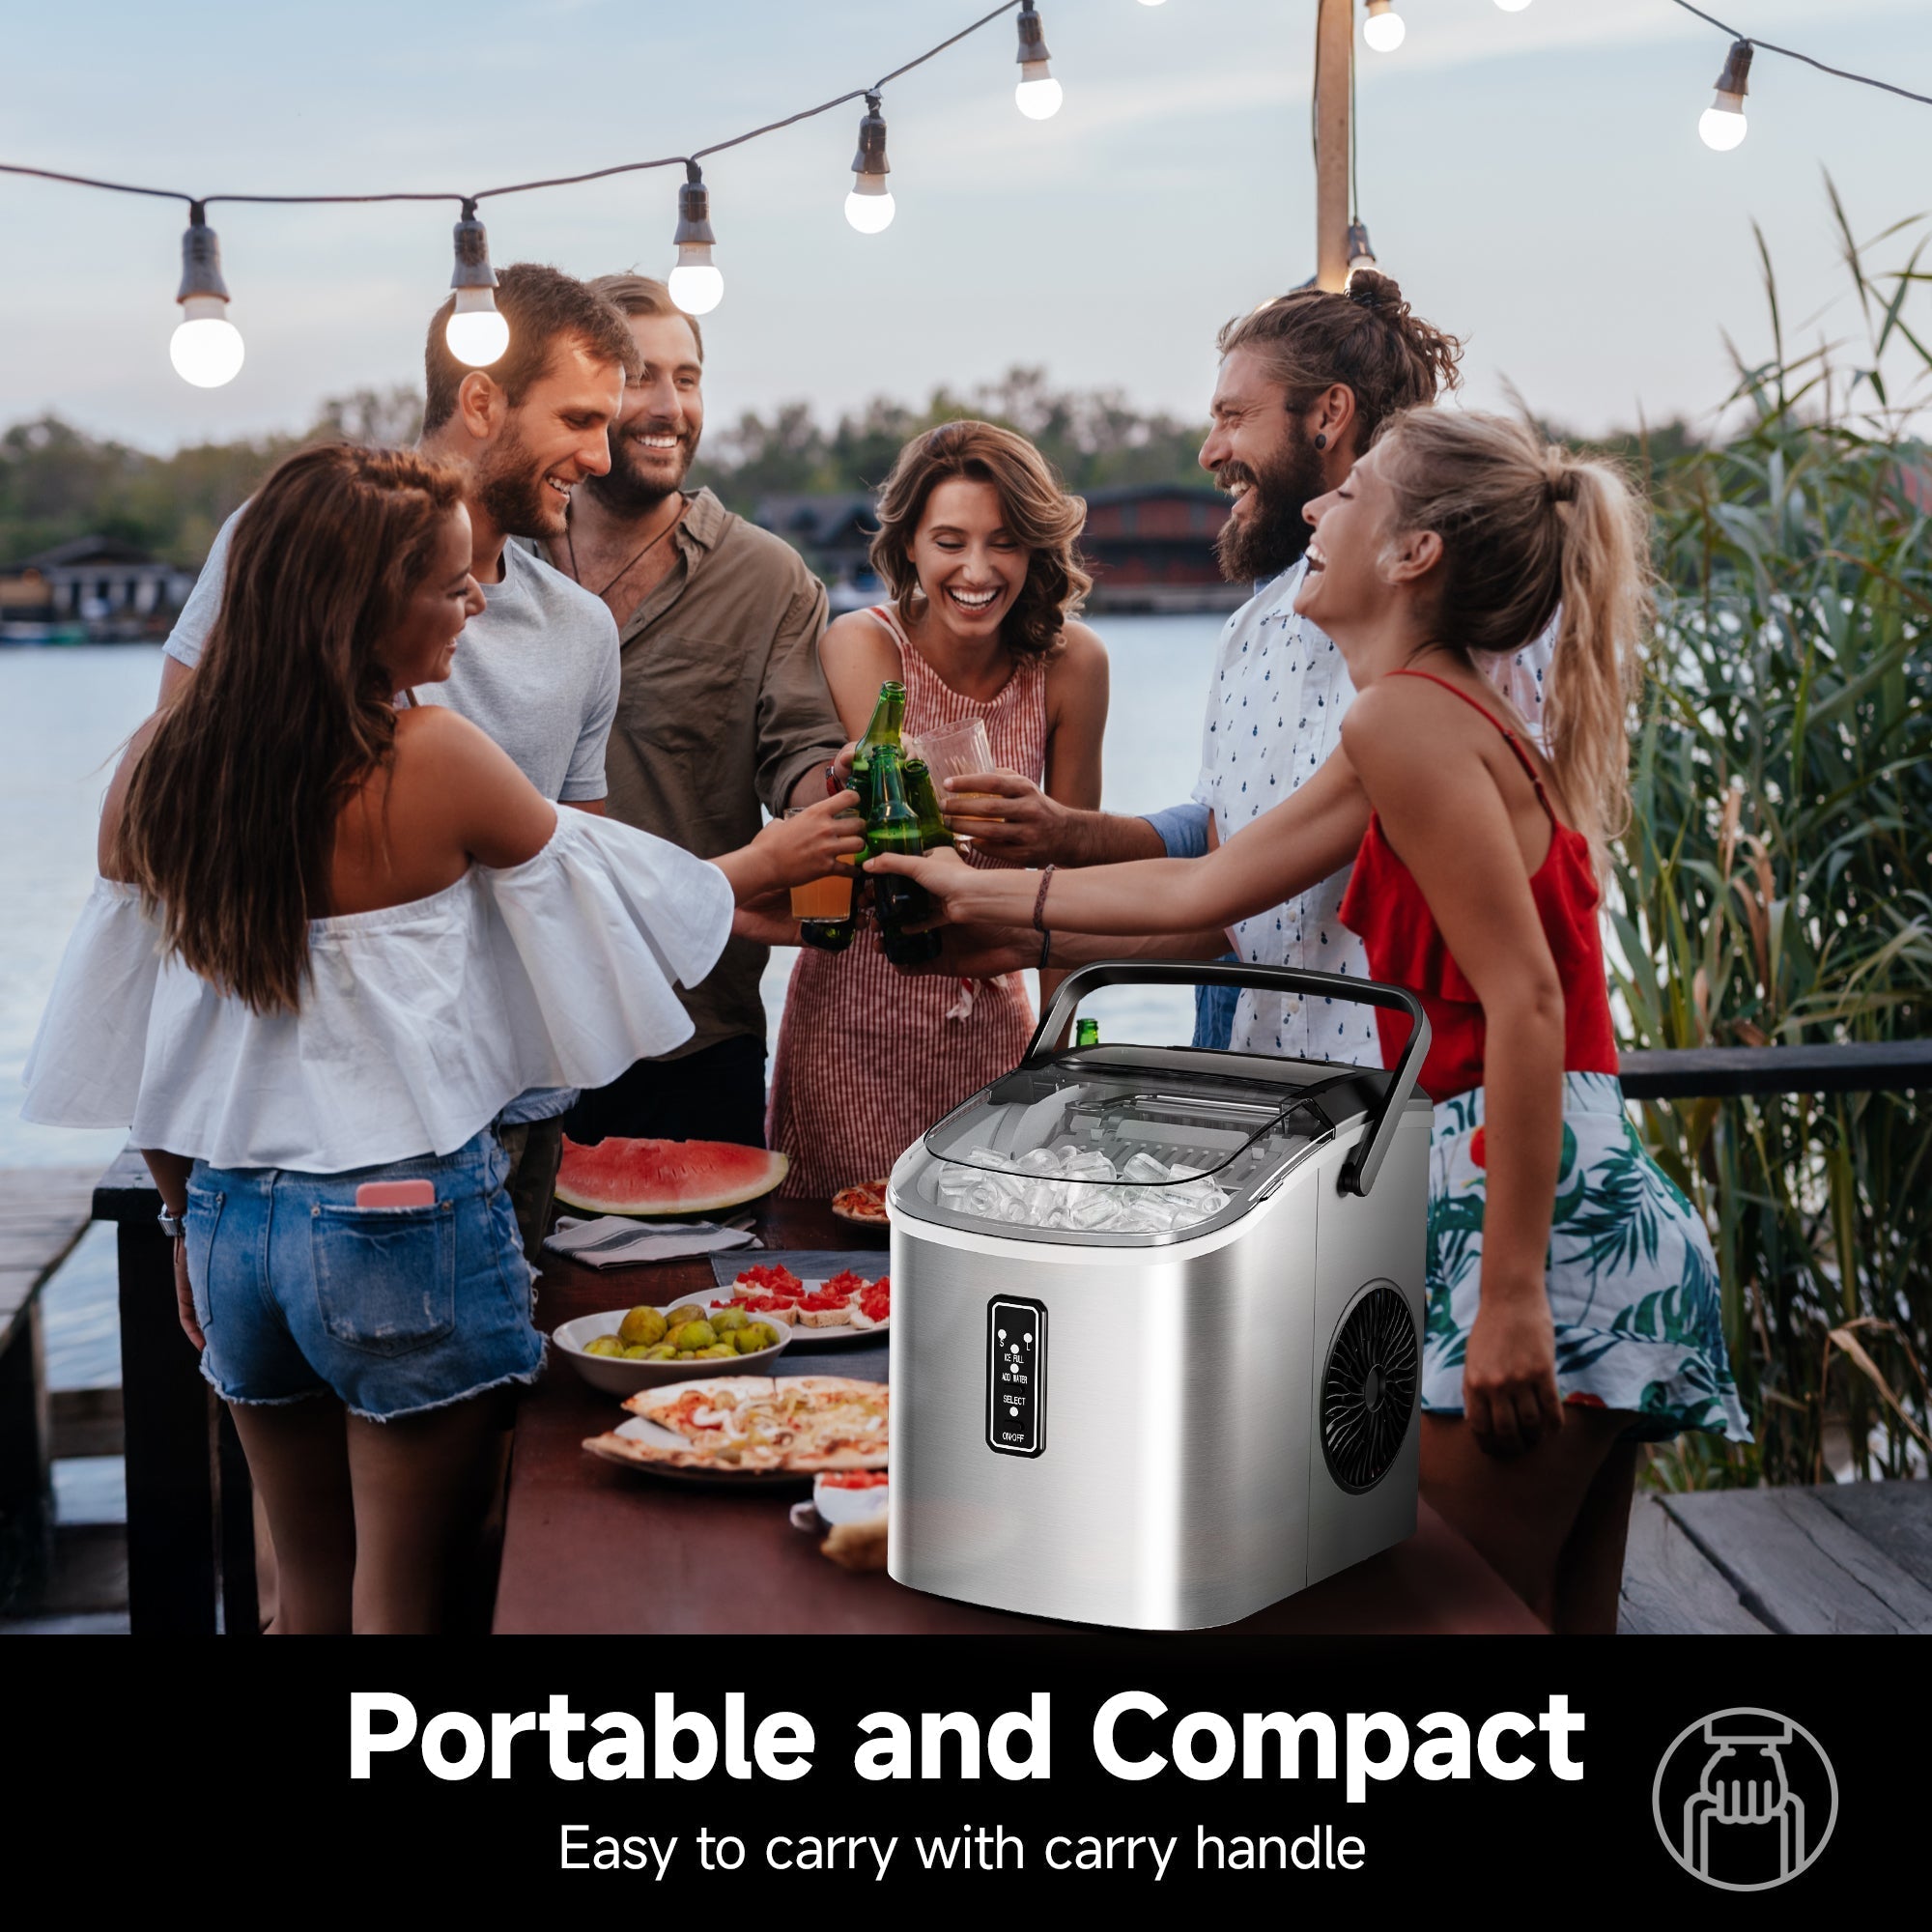
If you rent, move often, or host cozy gatherings, a countertop unit keeps life flexible. You can lift it to the patio for a cookout, park it beside the espresso machine for iced lattes, or take it in an RV. Refilling the reservoir is straightforward, and a quick-start design gets cold drinks on the table fast. Households that want low commitment and high convenience usually prefer this route. It also suits anyone who enjoys different textures because bullet, nugget, and crescent ice each feel distinct in the glass. For that combination of simplicity and speed in a portable ice maker, a compact model is often the most comfortable fit.
Suggestions that raise satisfaction:
- Plan for a stable, level surface near an outlet and a sink for refills and cleaning.
- Keep a small scoop and bin liner nearby, and empty meltwater after events, so the interior stays fresh.
- If you love chewable ice, shortlist a nugget unit that lists a first batch in about seven to ten minutes and an output near the mid-30s.

Who Should Choose an Undercounter Ice Maker?
If your home sees regular dinner parties or you run a serious home bar, an undercounter machine earns its footprint. You open the door, scoop clear ice, and keep service flowing through the evening. You also gain a seamless look that blends with cabinetry. The tradeoff is planning for plumbing, ventilation clearances, and a drain route. Shoppers who value high output, a neat facade, and a steady supply gravitate to this undercounter ice maker format.
What to keep in mind before you commit:
- Confirm the drainage type. Many units use gravity drainage and expect a proper slope. If your drain cannot sit below the outlet, a pump solves the elevation problem.
- Reserve airflow around the condenser. Do not enclose the unit in a fully sealed cavity. Leave recommended clearance to avoid overheating and nuisance shutdowns.
- Match bin size to your hosting rhythm. A model that lists about 80 pounds per day with a 24-pound bin serves most home bars very well, while a roughly 199-pound class with a 34-pound bin supports larger events.

Outdoor Use and Built-in Considerations
Outdoor bars add stresses that indoor cabinets rarely face. Plan for heat, moisture, and debris so the unit can breathe and drain correctly.
- Ventilation clearance: Keep intake and exhaust paths open. Follow the manual’s minimum clearances and avoid sealing the unit in a tight cavity.
- Drainage with proper slope: Use a continuous drain line with a steady downward pitch. If the slope isn’t feasible or the run is long, fit a drain pump rated for meltwater.
- Cabinetry and weather: Use weather-resistant surrounds and stainless faces in exposed bars. Keep the location away from direct spray and wind-driven rain; add simple screens to deter debris.
- Electrical and code: Provide a grounded, dedicated circuit sized for nameplate amps, and apply local requirements for GFCI/AFCI outdoors.
- Service access: Leave a removable panel or slide-out path to reach the condenser, water/drain connections, and any pump for routine cleaning.
- Pre-close checks: Before closing cabinetry, verify levelness, clear airflow, leak-free supply, and smooth drain-flow across a few cycles.
Final Verdict: Which Should You Choose?
Think in terms of hosting rhythm, space, and tolerance for installation work. If you need quick ice, a small footprint, and zero plumbing, a countertop unit is the stress-free choice. If you want a clean, built-in look with real capacity for parties, the undercounter pays off. Your best ice maker is the machine that delivers the right production, storage, and ice style without complicating the room. Shoppers looking for the best ice makers for home get better results by mapping expected guest counts to the production and bin figures above, then confirming drainage and ventilation details before checkout.

FAQs about Ice Makers
Q1. Can I use reverse osmosis or distilled water in an ice maker?
Yes, as long as the water is potable. Extremely low mineral content can confuse some level sensors and reduce cube formation quality. If you notice misreads or soft shapes, mix a portion of regular tap water, then run a cleaning and rinse cycle.
Q2. How do I sanitize the ice path for safe service at home?
Empty the bin, run the manufacturer’s cleaning program with an approved cleaner, then flush with fresh water until no odor remains. Wipe the bin and scoop with food-safe sanitizer, air-dry with the door open, and replace or rinse filters on the schedule recommended.
Q3. What causes hollow cubes or inconsistent nugget texture?
Warm inlet water, restricted airflow, or mineral scale on the evaporator all impact formation. Use cool water, keep ventilation paths clear, and descale on a routine cadence. Avoid overloading the bin during recovery, and give the machine a few cycles to stabilize output.
Q4. How should I winterize an outdoor or seasonal installation?
Shut off the water supply, drain the lines completely, and run any drain pump to clear residual water. Dry the bin, prop the door slightly open to prevent odors, and cover ventilation openings from debris. Restore service only after checking for leaks and clear airflow.
Q5. How can I estimate annual energy cost before buying?
Check the appliance’s rated watts and your local electricity rate. Multiply watts by typical daily hours of operation, divide by 1,000 to get kWh, then multiply by your $/kWh. A smart plug or energy meter refines this estimate with real-world runtime.

Leave a comment
All comments are moderated before being published.
This site is protected by hCaptcha and the hCaptcha Privacy Policy and Terms of Service apply.