
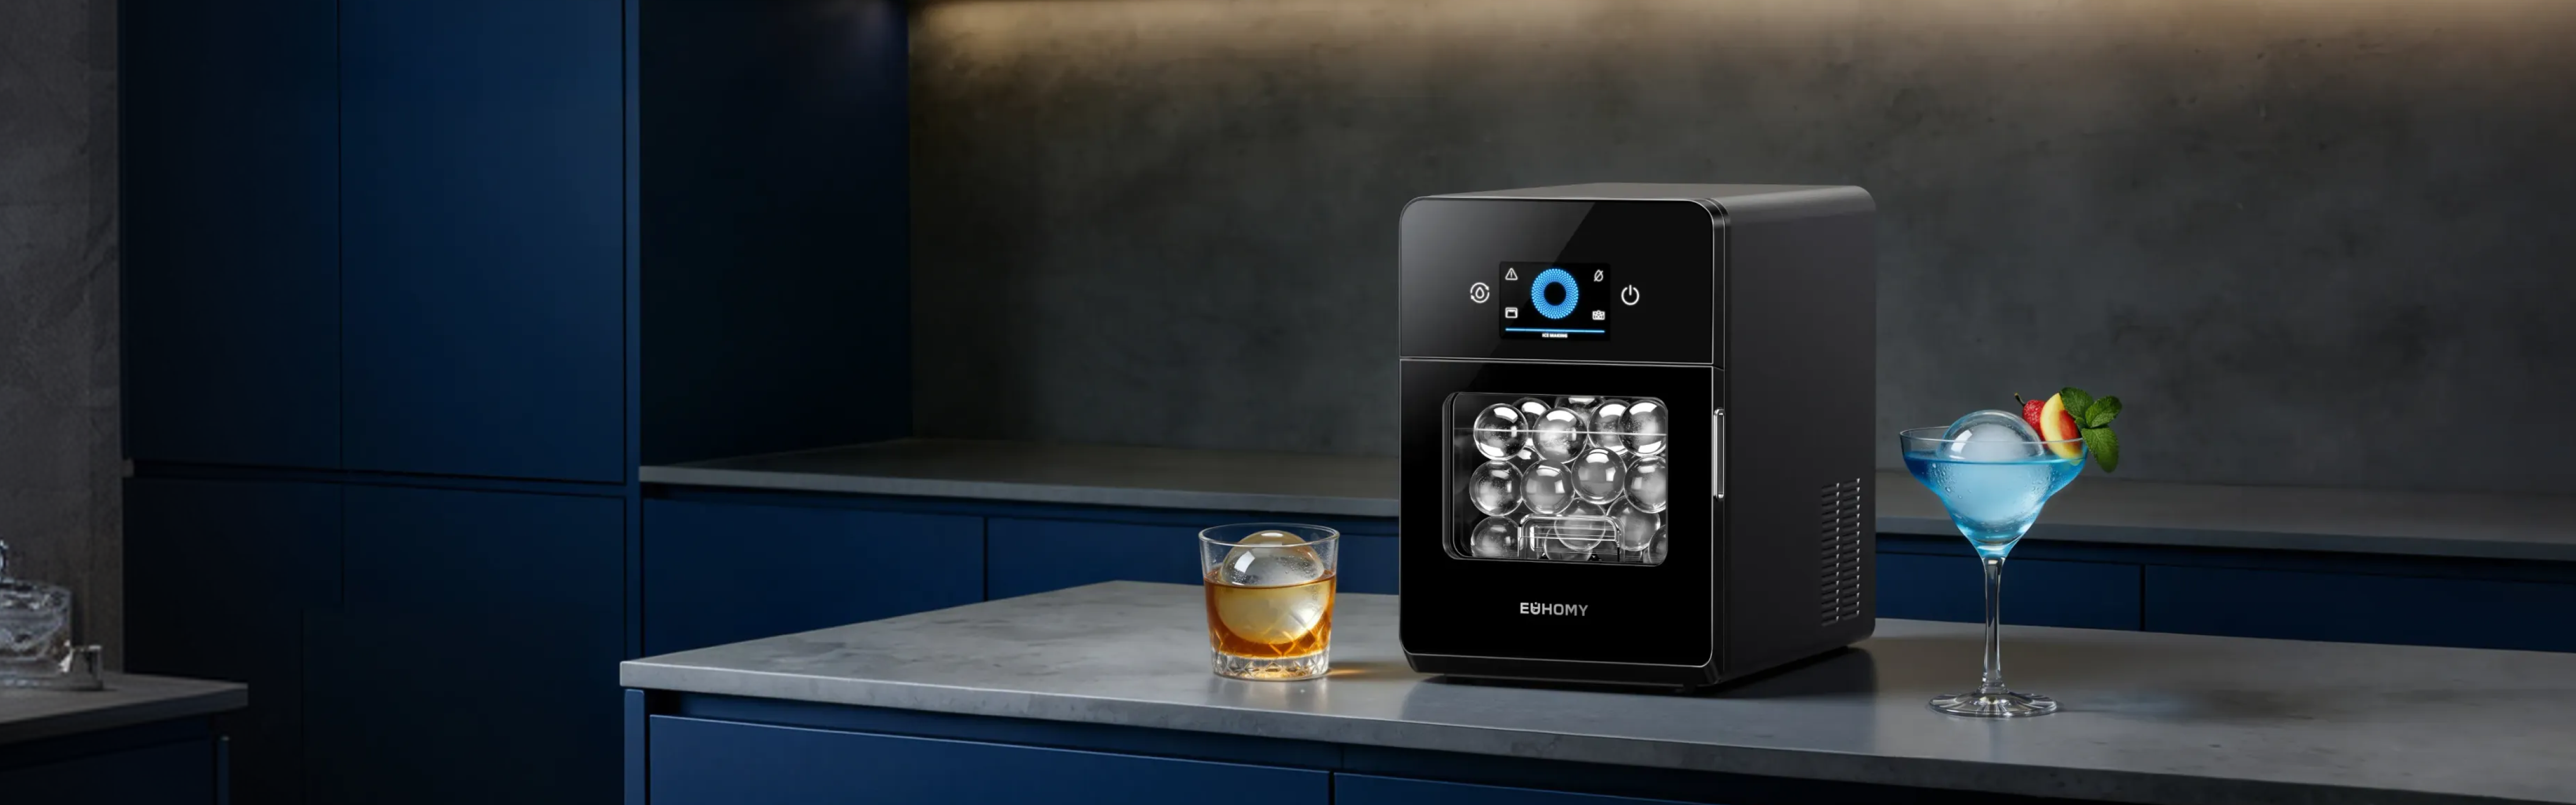
If your ice production feels slow, the cubes come out soft, or the machine sounds like it’s working overtime, placement is often the hidden culprit. A compact unit still behaves like a small refrigerator: it has to dump heat, breathe clean air, and stay stable. Put it in the wrong spot, and you’ll see higher energy use, weaker ice, and a shorter service life. The sections below break down the practical placement rules, then apply them to common home layouts and the most popular unit styles.
Why Proper Placement Matters: Efficiency and Lifespan
An ice maker doesn’t “make cold” out of thin air. It moves heat from water and pushes that heat out through its condenser and exhaust. If the hot side can’t shed heat, the compressor runs longer, the machine cycles less efficiently, and the ice bin becomes a warm zone where fresh cubes melt back into water.
Good placement also protects parts you can’t see. High heat, blocked airflow, and dusty vents can raise internal temperatures and increase wear. Many manufacturer manuals call for clear ventilation gaps specifically to keep performance stable and prevent overheating issues.
Placement Requirements: Ventilation, Power, and Clearance
Placement rules sound “basic,” yet most real-world problems trace back to these three. Think of them as a checklist you can run in two minutes, then forget about once it’s set.
Ventilation
- Keep the exhaust and intake areas open. A lot of portable ice makers call for roughly 4 inches (10 cm) of open space around the machine for airflow.
- Some designs vent hot air strongly in one direction and ask for extra room at the hot-air side. Manuals often warn that a blocked hot-air vent can stop ice production, and some specify keeping the hot-air vent over 6 inches from walls or objects.
Power
- Plug directly into a properly grounded wall outlet whenever possible. Safety guidance from the Electrical Safety Foundation International warns against using extension cords for appliances and recommends plugging major appliances straight into a wall receptacle.
- If a cord is truly unavoidable for a temporary situation, avoid overloading and follow safety guidance on correct cord rating and safe routing. The U.S. CPSC notes extension cords can overheat when overloaded and should be used carefully and temporarily.
Clearance
- You need room to open lids/doors, remove the ice basket, refill water, and drain.
- For some door-style or plumbed models, manuals call out clearance like about 5 cm at the rear and about 25 cm in front to allow airflow and door swing.
A bonus requirement that saves headaches: keep it level. A slightly tilted machine can cause poor water distribution and inconsistent freezing. Regular maintenance, such as thoroughly cleaning the ice-making components, also helps ensure optimal performance and ice quality.

Placement by Type: Countertop, Undercounter, and Freestanding
Placement changes depending on how the unit breathes, how you add water, and where heat exits. A countertop ice maker usually needs open air around it, while built-in machines depend on correct cabinet airflow planning.
Here’s a practical comparison you can use while measuring your space:
| Type | Best placement pattern | Typical airflow reality | What to plan for |
| Countertop | Open counter near a sink | Needs breathing room around vents | Easy refill/drain access, stable surface, keep vents clear |
| Undercounter | Cabinet opening designed for the unit | Often relies on front or planned ventilation pathways | Door swing, service pull-out space, water line/drain if plumbed |
| Freestanding | Open floor spot with side/back clearance | Usually vents to the sides/back (varies by design) | Heat clearance, noise location, outlet access |
If you move the unit often, a portable ice maker benefits from a “home base” spot that stays ready: close to an outlet and a sink, away from sunlight, with nothing shoved against the vents. Vent clearance rules commonly land in the 4–6 inch range, depending on vent direction and model.
For a freestanding ice maker, plan clearance like you would for a compact fridge: room for airflow, door access, and enough space to clean around it.
Outdoor Placement: When It’s Possible, When It’s a Bad Idea
People ask about patio setups all the time, especially for BBQ season. The blunt answer: most home units are not built for outdoor exposure. Many manuals explicitly state that the unit is not for outdoor use.
That said, an outdoor ice maker can make sense only if it’s specifically rated for outdoor environments and installed like an outdoor appliance. For anything outside, these factors matter:
- Temperature and airflow: Many household-style manuals target operation around 50°F to 100°F and warn against sealed, unventilated spaces or harsh exposure like wind-driven moisture. Heat waves can drop output fast and turn the bin into a melter.
- Electrical safety: Outdoor outlets at homes are commonly required to have GFCI protection under modern NEC rules, and GFCI protection is widely recommended anywhere water and electricity might meet.
- Weather: Rain, mist, salty air, and direct sun can shorten life and create safety risks. Even if it “works,” you may be trading convenience for corrosion and electrical headaches.
A safer compromise for parties: keep the unit indoors near the patio door, run ice out in a covered bin, and refill as needed.
Best Rooms to Position Your Ice Maker
A good room gives three things: stable temperature, easy water access, and airflow that stays unobstructed even when the kitchen gets busy.
- Kitchen counter near the sink: Short refill and drain trips, quick access for daily drinks. Keep it away from ovens, ranges, and dishwasher exhaust zones.
- Pantry or butler’s pantry: Great for noise control and uncluttered airflow, as long as the space isn’t sealed up. Ventilation still matters.
- Home bar or media room: Works well if you can keep the unit level and give it airflow. A small spill tray nearby helps.
- Finished basement: Basements can be naturally cool, which can help, but humidity and dust can be higher in some homes. Keep the unit off the carpet and maintain airflow.
For ice makers for home use, the “best” room is usually the one where nobody blocks the vents with bags, cookbooks, or a pushed-back appliance during normal life.
The Worst Places to Put an Ice Maker
Bad spots share a theme: they trap heat, invite moisture, or make daily use annoying enough that owners stop maintaining the machine.
- Tight alcoves and closed cabinets without ventilation: Heat gets trapped, output drops, and the compressor runs harder. Manuals commonly call for meaningful clearance for airflow.
- Right next to heat sources: Ovens, grills, radiators, sunny windows, and even the exhaust side of other appliances can warm the intake air.
- Direct sunlight: The sun can heat the shell and the water reservoir, causing quirky sensor behavior in some designs.
- Areas with frequent splashes and no protected outlet: Water plus a poor electrical setup is a bad mix. Use GFCI-protected outlets where appropriate.
- Dusty or lint-heavy corners: Garages, workshops, and some laundry zones can clog vents faster than you expect.
- Unstable surfaces: Thin carts, wobbly shelves, or uneven flooring can lead to vibration, noise, and uneven freezing.
If you’re forced into a “less ideal” spot, prioritize airflow first, then power safety, then convenience.

Get Better Ice at Home by Choosing the Right Placement!
The fastest path to better ice is simple: give the machine room to breathe, feed it reliable power, and place it where daily water refills and cleaning feel easy instead of annoying. Measure clearance with the unit in its real position, open the lid or door fully, and confirm nothing will drift into the vent area during normal routines. Once the spot supports airflow and stable temperature, you’ll usually see stronger ice, steadier output, and quieter cycling.
FAQs About Ice Maker Placement and Setup
Q1: How much space should I leave around the unit?
Clearance depends on vent design, yet many manuals for portable models call for around 4 inches of open space around the unit, and some specify greater spacing at the hot-air vent side. Treat the manual as the final authority, then add a little buffer so the vents stay clear even when the counter gets crowded.
Q2: Can I plug it into a power strip or extension cord?
A direct wall outlet is the safest choice. ESFI advises against using extension cords for appliances and recommends plugging major appliances directly into a wall receptacle. The CPSC also warns that extension cords can overheat when overloaded and are best used temporarily and correctly rated.
Q3: Is a garage a good location?
Sometimes, it depends on temperature swings, dust, and outlet safety. Many household-style instructions target moderate room temperatures and warn against harsh exposure like wind-driven moisture or sealed spaces. If the garage gets hot in summer or drops near freezing in winter, output and reliability can suffer.
Q4: Why does my ice melt quickly after it drops?
Soft or wet ice often points to high ambient heat, poor ventilation, or frequent lid opening. Hot air trapped around the machine makes it harder to maintain freezing conditions in the bin. Improving airflow clearance and moving the unit away from heat sources usually helps.
Q5: Can I keep it outside under a covered patio?
Yes, but only units rated for outdoor conditions belong outdoors. Many manuals state the appliance is not for outdoor use, and outdoor setups also raise electrical safety requirements like GFCI protection for outdoor outlets. A covered patio reduces rain exposure, yet humidity, heat, and insects still create risks.
Q6: What’s the single most important placement rule?
Ventilation. If the machine can’t dump heat, everything else gets worse: slower cycles, softer ice, and louder operation. Give it the airflow clearance the manual calls for, keep vents unobstructed, and you’ll solve a large share of “mystery performance” issues.

Leave a comment
All comments are moderated before being published.
This site is protected by hCaptcha and the hCaptcha Privacy Policy and Terms of Service apply.