The cleanest no-drill options are adhesive cord clips, surface-mounted cord covers, and placement that keeps the ice maker easy to unplug.
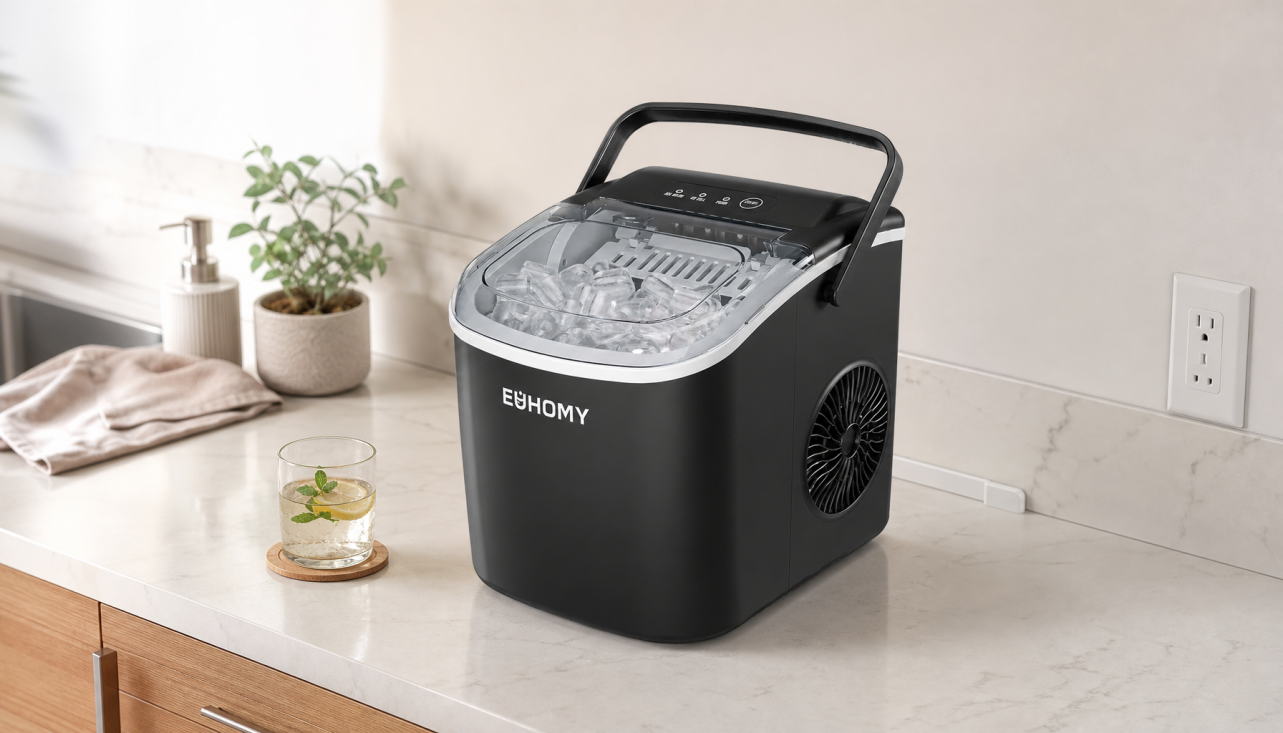
Is the machine doing its job while the cord ruins the look of your counter? A renter-friendly setup can usually clean that up fast without cutting into cabinets or walls, and the right method will still let you refill, clean, and move the unit when needed. Here’s how to hide the cord without trapping heat, blocking vents, or making a countertop ice maker harder to use.
Recommended No-Drill Ways to Hide the Cord

A publication points to a few practical fixes that work well in kitchens: adhesive cable clips, cable tidy boxes, decorative baskets, and outlet-cover extensions that move the visible plug to a less obvious spot.
Stick-on clips and cord bundlers
If most of the cord is already behind the machine, a stick-on cord bundler is the simplest fix. One DIY write-up used $8 cord bundlers to hold a coiled cord on the back of appliances, which is a good fit for a countertop ice maker as long as the adhesive stays away from heat and splash zones. A platform also notes that this style is well suited for appliances with cool outer surfaces.
Surface-mounted cord covers
Use a paintable cord raceway when the cord has to cross a visible stretch of backsplash or wall. A no-drill install can be done with adhesive strips instead of screws, and one project took about 30 minutes end to end. A company PDF also shows why this works better than forcing a cord to drape loosely along the counter.
Baskets and appliance garages
A decorative basket or appliance garage can hide both the machine and the cord, but only if airflow and service access stay intact. That approach makes more sense for a small beverage station or home bar than for a machine you move every day. A publication also notes that pantry outlets and appliance-garage layouts are worth planning in a remodel.
How to Pick the Right Method for Your Kitchen

Small apartments and tight counters
When space is limited, choose the least bulky fix first. Adhesive clips usually beat a boxy cord cover if the cord only needs to turn once and disappear behind the unit.
Open kitchens and home bars
If the ice maker sits in plain view next to a coffee maker or beverage cooler, a painted raceway usually looks cleaner than letting the cord run across the backsplash. This is the better choice when visual clutter matters more than speed.
Shared appliance zones
If the same counter holds a blender, mixer, or toaster, keep the ice maker cord separate from hot appliances and frequent traffic. A cord solution that works on a quiet prep counter can fail fast in a busier zone.
What to Protect While Hiding the Cord

Keep the machine easy to move
Do not create a setup that makes unplugging annoying. Portable ice makers need regular access for refills and cleaning, so the cord should still come free without tugging the machine.
Avoid heat and moisture
Adhesive holders can be useful, but they are not universal. Keep them away from toasters, toaster ovens, sinks, and other wet or hot spots so the adhesive does not soften or peel.
Leave the vents and back panel clear
The goal is a cleaner look, not a sealed-in appliance. Leave the machine positioned so the back and sides can breathe, and route the cord so it does not get pinched behind the unit.
Recommended Setups by Use Case

For renters
Use removable clips, removable bundlers, or adhesive raceways. Those give you the cleanest result without leaving a permanent mark, and they are easy to undo when you move.
For a temporary bar or guest area
Hide the cord inside a basket or behind decor only if the machine stays easy to reach. This works well for weekend hosting, holiday setups, or a light-use beverage corner.
For future remodels
If you already know where the ice maker will live, plan the outlet placement around it instead of fighting the cord later. A pantry outlet or appliance garage is usually cleaner than any after-the-fact patch.
Practical Steps

- Unplug the ice maker and wipe down the back and the wall area.
- Decide whether the cord needs clips, a short raceway, or both.
- Route the cord so the machine still pulls forward easily.
- Keep adhesive products out of heat and splash zones.
- Test the setup before you push the unit fully back.
FAQ
Q: Can I hide a countertop ice maker cord with adhesive clips?
A: Yes, if the surface is clean, dry, and not hot. Clips work well for short runs behind the machine.
Q: Is a cord cover better than a cord bundler?
A: Use a bundler for the last bit of cord behind the appliance, and a cord cover when the cord has to travel across visible wall space.
Q: Should I store the ice maker cord inside a basket?
A: Only if the basket does not block airflow or make unplugging awkward. It is better for aesthetics than for frequent daily use.
Key Takeaways
The safest no-drill fix is usually a mix of placement and one low-profile cord-management product. For most kitchens, adhesive clips or a paintable raceway will hide the cord well enough without drilling, while a future outlet plan is the cleanest long-term answer.

Commenta
Questo sito è protetto da hCaptcha e applica le Norme sulla privacy e i Termini di servizio di hCaptcha.