A careful first setup prevents bad-tasting ice, leaks, and avoidable startup errors.
Unboxing a new ice maker and wanting ice right away is normal, especially if it is for a kitchen counter, apartment bar, or weekend setup. The first run usually goes well once the unit has room to breathe, the reservoir is clean, and the power and water checks are done in order. This guide shows the steps that matter most before you press start.
Start With the Space, Not the Switch

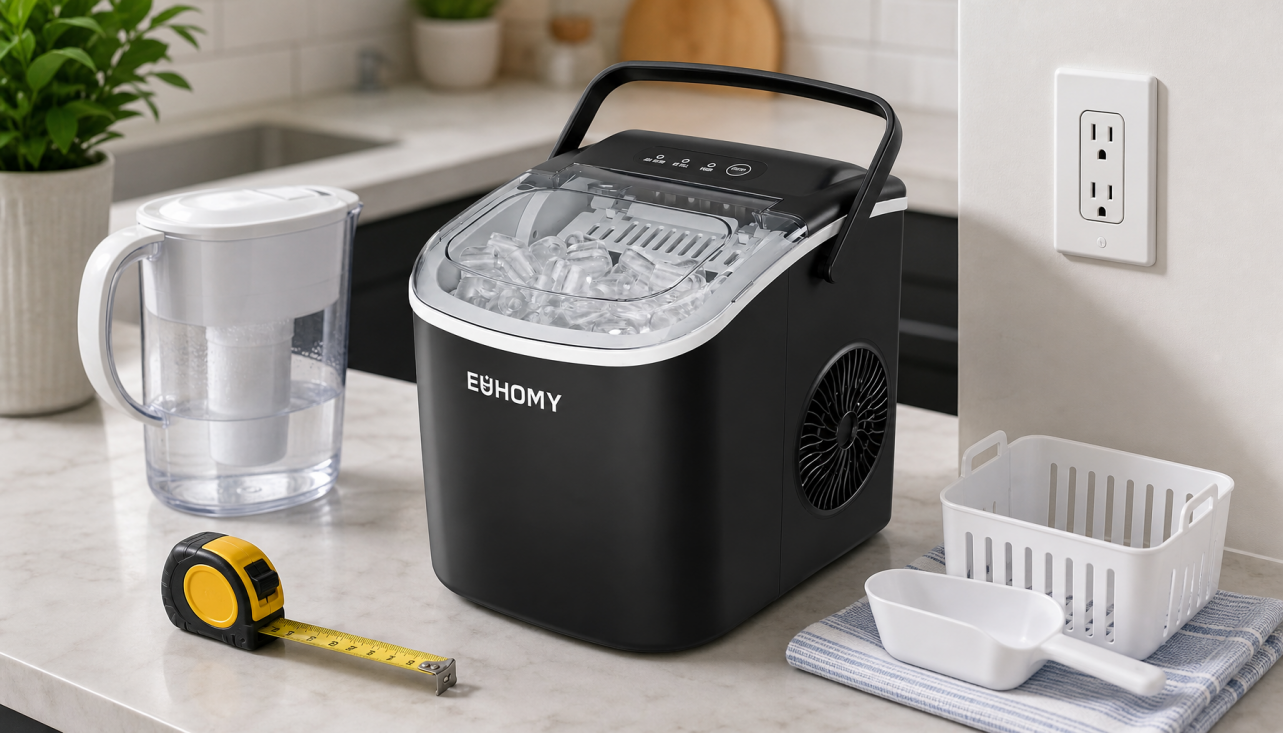
Measure the footprint first
Many portable units are under 15 inches tall and under 12 inches wide, but that still does not guarantee a good fit under your cabinets, so measure the full footprint and leave room for loading water and opening the upper portable ice maker placement. If the machine sits too close to a wall or upper cabinet, day-to-day use gets cramped fast.
A portable unit also needs open airflow around the vents. A brand recommends about 20 cm of clearance, which is especially important in a tight apartment kitchen or a portable refrigerator setup where several cooling appliances may be close together portable ice maker ventilation.
Choose a cool, stable spot
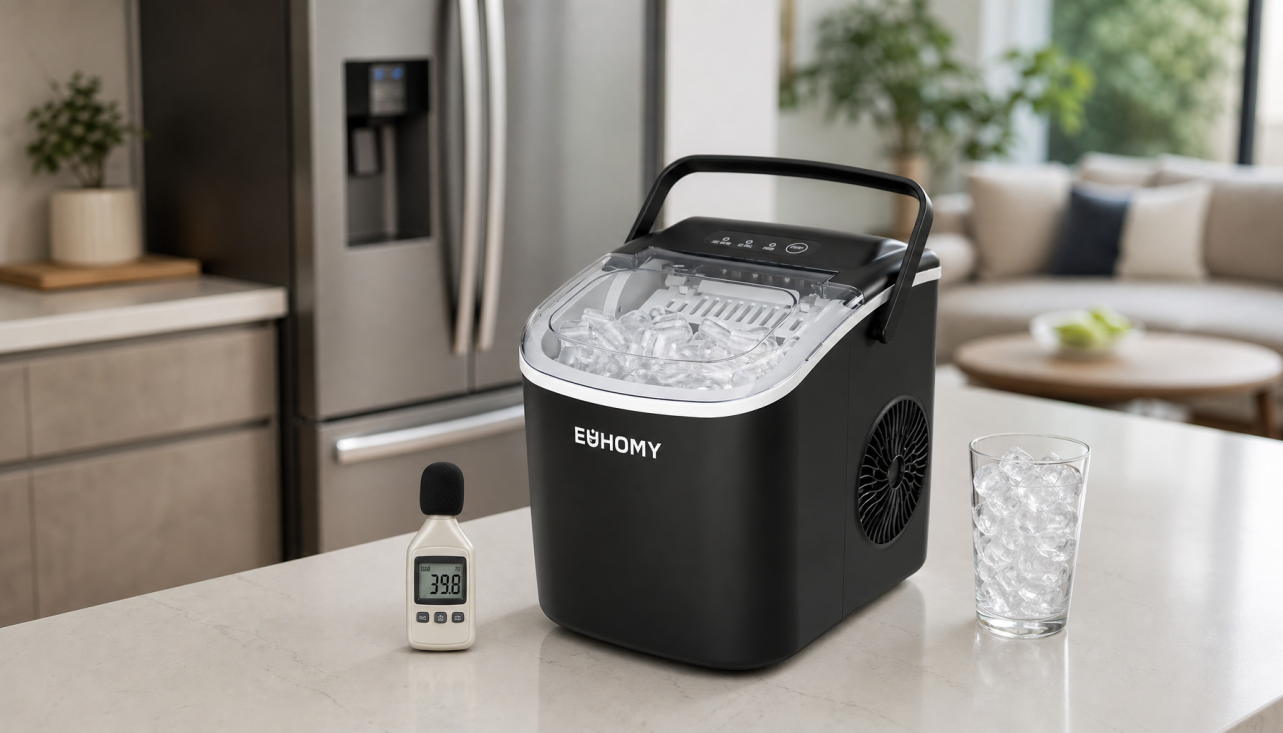
Portable ice makers work better in a cool room and out of direct sunlight, with one source noting strong results around 50°F to 80°F portable ice maker placement. That matters whether you are using it at home, in an RV, or beside a beverage cooler where heat can build up.
Put the unit on a level, steady surface. If it rocks, vibrates, or sits too close to a hot appliance, you will usually see weaker ice production and more startup noise.
Confirm Power and Plumbing Needs

Use the right outlet
Most countertop ice makers only need a standard 110-120V, three-prong outlet, and they do not need a water line or drain line portable ice maker basics. That is the big reason they are easier to place than undercounter, built-in, or commercial ice makers, which usually need more planning for plumbing and drainage.
If you are comparing setup options, this is the main trade-off: a countertop unit is simple and portable, while a plumbed system is better for higher-volume service. For a home bar, office pantry, or light-business drink station, the portable format usually wins on convenience.
Know what the machine does not need
For a portable countertop model, you typically fill the reservoir by hand instead of connecting a supply line portable ice maker basics. Melted ice is usually recycled back into the next batch, so the machine is designed for quick ice, not long-term frozen storage.
That makes it a strong fit for short stays, travel, and occasional entertaining, but less ideal if you need a steady stream of ice all day.
Clean and Rinse Before the First Batch

Wash every removable part
Before first use, unplug the machine and remove parts such as the ice basket, scoop, drip tray, and any stopper or removable reservoir pieces countertop ice maker cleaning. Warm soapy water and a soft brush are usually enough for the removable parts, and a vinegar soak can help if you see mineral buildup.
Do not rush this step. A clean basket and reservoir make the first ice taste better and reduce the chance that dust, packing residue, or manufacturing debris ends up in your drinks.
Run a cleaning or rinse cycle
For the interior, a 1:10 vinegar-water wipe is a common cleaning method, and some manuals call for a cleaning cycle with equal parts water and white vinegar followed by a fresh-water rinse countertop ice maker cleaning. A practical rule is simple: clean first, rinse second, then discard the first ice batches instead of serving them.
Some owners run two full ice-making cycles and throw both away before using the machine for drinks countertop ice maker cleaning. That extra step is cheap insurance when you want fresh-tasting ice from day one.
Use the right water
Clean, cool, filtered water usually makes clearer ice and can help limit mineral buildup, and some manufacturers also allow room-temperature water or colder portable ice maker water prep. If your tap water has a strong taste, a filter pitcher is often a better first-fill choice than straight tap water.
Run the First Cycle the Right Way

Expect a flush and some odd sounds
On some nugget-style machines, startup includes a flush that lasts about 5 minutes, and water sounds during that stage are normal first-cycle troubleshooting. You may also see water near the back of the bin during startup, which can be part of normal operation.
The first ice may look slushy. On some models, that is expected, and fuller nugget texture may not show up until roughly 30 minutes into operation.
Check the bin and reservoir before assuming there is a problem
Make sure the ice bin is fully inserted, because some units will shut themselves off if the bin is not seated correctly first-cycle troubleshooting. If the machine sounds unusually loud during the first flush, it may simply need more water.
That is why the first run is partly a test. You are not just making ice, you are confirming that airflow, water level, and bin fit are all correct.
Know When a Portable Unit Is the Right Fit

Match the machine to the job
A countertop ice maker makes sense for apartments, RVs, short-term rentals, backyard drink stations, and light-duty service where you want quick setup without plumbing work. For a busier café, bar, or larger event space, undercounter or commercial equipment usually makes more sense because it is built for continuous water supply, drainage, and higher storage demand.
A brand notes that one portable model can make up to 25 lb per day, which is enough for many home and light-business uses portable ice maker output. The trade-off is that it is still a portable unit, not a plumbed ice room in miniature.
Keep expectations realistic
Portable ice makers are not meant to keep ice cold for long, and meltwater is usually recycled into the next batch portable ice maker basics. That is fine if you want fresh ice quickly, but it means the machine should be treated as a make-ice appliance, not a freezer.
Key Takeaways
- Measure the counter and leave room for airflow before you plug anything in.
- Use a grounded 110-120V outlet, and do not expect a countertop unit to need plumbing.
- Wash removable parts, rinse the reservoir, and discard the first ice batches.
- Keep the machine in a cool, shaded spot and follow the manual if startup behavior seems unusual.
FAQ
Q: How long should a new countertop ice maker sit before I plug it in?
A: There is no universal wait time in the sources. The safe move is to keep it upright, level, and dry, then follow the manual if it was tilted during shipping.
Q: Do I need to clean it before the first batch?
A: Yes. Wash the removable parts, run a cleaning or rinse cycle if the manual allows it, and discard the first ice.
Q: Why is the first ice slushy or small?
A: That can be normal during startup, especially on nugget-style machines. Check the water level, airflow, and bin fit before assuming there is a fault.
Commenta
Questo sito è protetto da hCaptcha e applica le Norme sulla privacy e i Termini di servizio di hCaptcha.