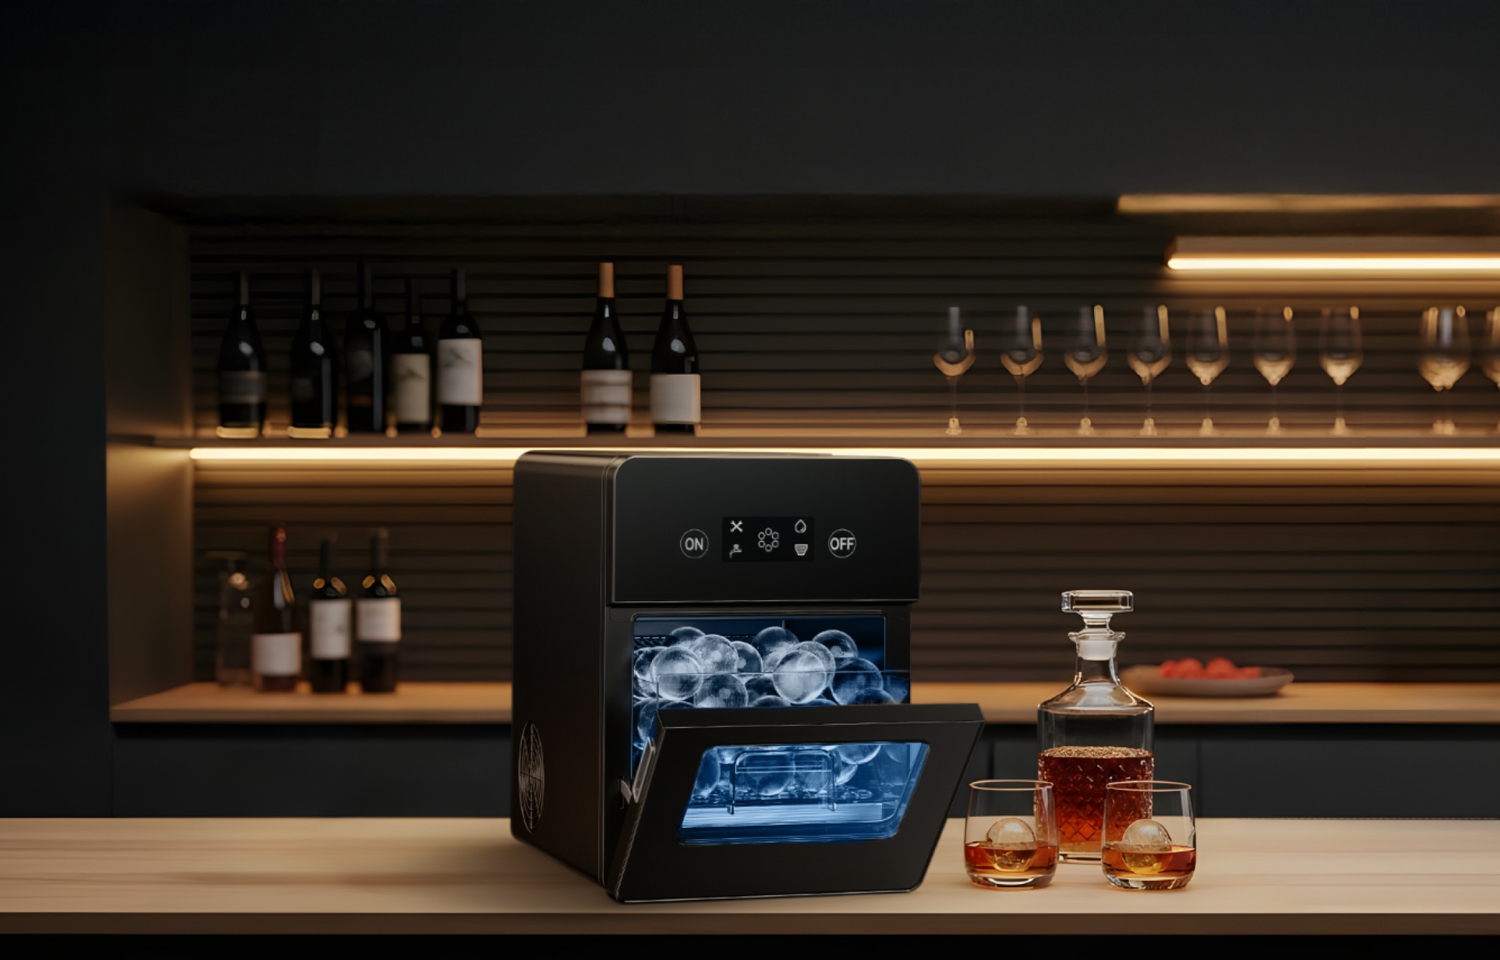
You set out a countertop unit to keep drinks cold, yet every batch drags, and the bin never fills. Most slowdowns trace back to a short list of fixable issues: placement, heat, water, settings, or upkeep. The plan below shows practical checks you can do at home, in the order that delivers the quickest gains, so performance improves within a couple of harvests.
Understanding Normal Ice Maker Production Times and Speed Limits
Troubleshooting works best when you know what "normal" looks like. A compact home machine freezes a small sheet or set of molds, harvests, then repeats. The first batch usually takes longer because the water and internal parts begin at room temperature. As the reservoir cools, harvests stabilize.
Here is a simple reference you can use to sanity-check performance in a typical indoor kitchen with cool feed water:
| Common home style | First ice timing | Daily output range |
| Bullet style | about 6–10 minutes | about 24–30 lb per day |
| Cube style | about 10–15 minutes | about 30–40 lb per day |
| Nugget or pebble style | about 7–12 minutes | about 30–45 lb per day |
If your first harvest sits a couple of minutes above these ranges during a hot afternoon, that can still be normal. If every cycle lands well beyond the upper end in a climate-controlled room, move to the environmental fixes below to recover speed for your ice maker.
Placement & Ventilation: Give Your Machine Room to Breathe
Freezing speed depends on how well warm air leaves the condenser. When hot exhaust recirculates, cycles stretch, and ice looks smaller or wet around the edges. The fix is often where the appliance sits, not the appliance itself.
Start with these quick changes:
- Place the unit on a level surface with open space behind, above, and on both sides. A hand's width at the back and several inches elsewhere usually works.
- Keep it out of direct sun. A sunny window can add minutes to every cycle.
- Do not crowd other hot appliances. A toaster, air fryer, or dishwasher nearby warms local air.
- Avoid closed cabinets. If you must tuck it in, open the doors while making ice so heat can escape.
Let two harvests complete after you improve the airflow. Many owners see the bin start to fill faster once warm air stops pooling around a countertop ice maker.

Temperature Issues: Why Heat Is Your Ice Maker's Biggest Enemy
Heat slows every step of freezing. High room temperature raises the load on the condenser, and warm surfaces inside the machine delay the point at which ice forms. Even a small bump in ambient temperature adds time to each batch.
Practical ways to cut heat loads:
- Cool the room. If the kitchen runs hot, shift the unit to a quieter corner or run it during cooler hours.
- Give the exhaust a path. Rotating the machine so the vent faces open space helps hot air move away instead of bouncing off a wall.
- Keep it level. A stable, flat surface reduces vibration and helps coolant flow as designed.
- Close the lid gently. Opening it mid-cycle lets warm air in and melts early crystals.
When heat and airflow are under control, production stabilizes, and the next batches look more uniform for an ice maker.
Water Temperature and Quality: How They Affect Ice Making Speed
Water temperature acts as a hidden throttle. Warm tap water forces the system to pull extra heat before freezing can begin. A simple switch to cold drinking water from your refrigerator can shave minutes from the first two or three cycles.
Water quality adds another variable. Minerals in hard water leave a thin scale on the evaporator and in the water path. That film behaves like insulation, so heat leaves more slowly and freezing slows.
Use these habits to protect speed:
- Prefer filtered water for daily use. It reduces mineral deposits and improves taste.
- Refresh the reservoir on a regular cadence, especially in summer.
- Descale with a mild citric-acid solution when you notice chalky residue or cloudier ice, then rinse twice with fresh water.
Cold water plus clean internals remove two major bottlenecks for a portable ice maker.
Quick Fix: Adjusting Ice Cube Size for Faster Production
Most home machines include a size or thickness setting. Thinner targets freeze faster, which shortens each batch and increases harvests per hour. When guests are waiting, choose the smaller bullet or thinner cube for the next hour. The trade-off is slightly faster melt in glasses, which is fine for mixing or frequent refills. Once the bin catches up, switch back to your preferred density so drinks stay colder longer in a countertop ice maker.
Simple Reset Solutions: Power Cycling Your Ice Maker
Electronics and sensors occasionally hold a minor fault until they reset. A clean restart clears that state and replaces warm or stale water that can slow freezing. Use this short sequence when cycles drag or the panel looks normal but output falls:
- Turn the machine off and unplug it for one minute.
- Empty the basket and reservoir. Remove half-melted ice so the full-bin sensor does not misread.
- Refill with cold filtered water. Run a rinse or cleaning cycle if your model supports one, then drain and refill again if needed.
- Plug back in, power on, and allow two full harvests before judging speed.
If the unit was tilted or transported, let it sit upright for a while before restarting. That allows coolant to settle and prevents noisy or slow first cycles in an ice maker.

Slow vs. Not Making Ice: How to Tell and What to Do
Owners often lump two different problems together. Separating them speeds up your fix.
Slow Cycles
Common causes include warm rooms, blocked airflow, warm feed water, thick settings, or early scale. Act by opening space around the vents, moving the machine away from heat sources, switching to cold filtered water, selecting a thinner setting for the next hour, then rinsing the system. Most units recover within a couple of harvests.
No Ice at All
Treat this like a basic diagnostic. Confirm the outlet supplies power. Check the control panel. Empty the basket and wipe the full-bin sensor. Seat the drain plug so the pump can draw water. Refill with cold water, run a rinse, and restart. If you still see no harvests and the pump sounds dry, stop and consult the manual for model-specific checks. This approach addresses the top searches around an ice maker not making ice without jumping straight to service.
This split keeps you from over-cleaning a unit that only needed airflow, or chasing airflow when the problem was a misread sensor.
Ice Maker Maintenance Tips for Optimal Speed and Performance
Consistency comes from small habits that prevent heat buildup and residue.
- Weekly clean: Drain the reservoir, wipe surfaces with a soft cloth, and run the built-in cleaning program if available. Rinse until the water runs clear and leave the lid ajar for a few minutes to dry.
- Descale on a schedule: Homes with hard water benefit from periodic descaling. Use a gentle descaler, follow the label, then rinse with two full reservoirs. If cycles grow longer or ice turns cloudy, treat that as a prompt to descale a countertop ice maker.
- Mind the sensors: The full-bin sensor or window can be fooled by splashes or frost. Power off, wipe it gently, and dry the area before restarting.
- Protect ventilation: Vacuum dust from vents. Keep cords, towels, and wall clutter out of the exhaust path. Confirm the surface is level to limit vibration.
- Refresh water frequently: In hot weather, replace the reservoir water every couple of days. Fresh, cold water keeps timing predictable and flavor clean.
- Store and move correctly: If you put the machine away between events, store it upright and dry. When bringing it out, let it rest on the counter before powering on so refrigerant settles and the first cycles run smoothly for a portable ice maker.
Keep these habits, and most units stay close to their rated output month after month.

Getting Your Ice Maker Back to Full Speed
Speed returns when you fix heat, water, and settings. Improve ventilation, choose a thinner setting for peak demand, refill with cold filtered water, clean and rinse, then restart and let two harvests complete before judging. These steps address the root causes and restore a steady rhythm without tools or a service call.
Frequently Asked Questions About Slow Ice Maker Problems
Q1: How long should the first batch take in a home unit?
Plan on roughly 6 to 15 minutes, depending on design and ice type. Early cycles run slower because internal parts start warm. After two or three harvests, timing settles. If you are outside that window in a cool kitchen with cold feed water, apply the placement, airflow, and cleaning steps above to recover speed.
Q2: My panel looks fine, yet the bin barely fills. What should I try first?
Treat heat and water as your fastest wins. Slide the appliance away from walls, open nearby cabinet doors, and keep it out of direct sunlight. Drain and refill with cold filtered water. Pick the thinner setting for an hour and let two cycles finish. These changes often raise output quickly, especially during warm afternoons.
Q3: Why is my portable unit not making ice at all?
Work through simple checks before assuming a fault. Confirm power at the outlet. Empty the basket and wipe the full-bin sensor. Seat the drain plug and listen for the pump drawing water. Refill with cold water, run a rinse or cleaning cycle, then restart. If there is still no harvest after two cycles and the pump sounds dry, consult the manual for model-specific steps.
Q4: Is distilled water best for clarity and speed?
Filtered drinking water is a safe default for most designs. Distilled water can produce clear cubes in some machines, yet clarity also depends on clean surfaces and uninterrupted cycles. A few sensors rely on a trace of mineral content for level detection, so if sensing becomes erratic, switch back to filtered water and rinse the reservoir.


Leave a comment
All comments are moderated before being published.
This site is protected by hCaptcha and the hCaptcha Privacy Policy and Terms of Service apply.